Uploading media
Media can be uploaded either on the Media section of the dashboard, or whilst adding/editing web page or blog post.
- Click either the Add new or Add media button depending on where in the dashboard you are.
- You will be presented with a box to drag and drop files from your computer to your website, or click the Select files button to select media from your computer.

- Once you have uploaded the files, you will be displayed the Media Library. This is where all uploaded media is stored.
 Inserting media
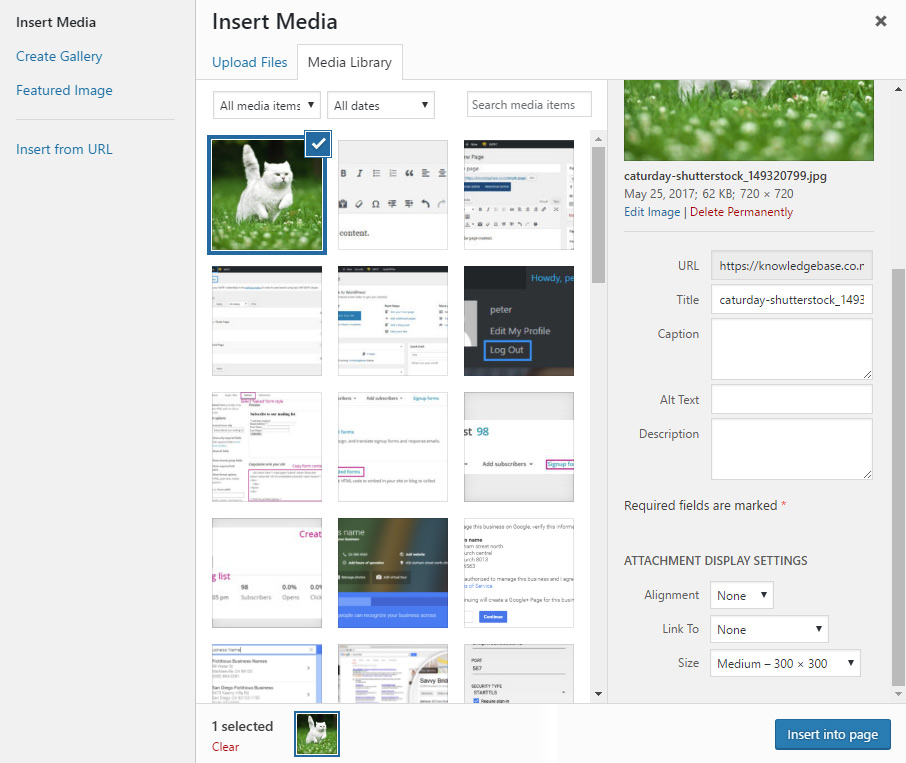
- When editing a web page or blog post, click the Add Media button to bring up the Media library. Either upload images using the above steps, or click on the Media Library link to select existing images.
- An image is selected when it has a thick blue border, and has the tick icon. You can select multiple images by holding ctrl key and clicking.
- The image settings can be updated. These settings are saved with the image.
- Title – image title to be displayed when a mouse hovers over it.
- Caption – can be displayed below an image when displayed on a web page/blog post.
- Alt Text – text to be displayed to screen readers and web crawlers, try to describe what is in the image.
- The attachment display settings can be set. These determine how this instance of the image is displayed.
- Alignment – align image to the left, center, right, or with no alignment.
- Link To – add a link to the image, select the ‘Custom’ drop down value to provide a custom URL
- Size – select the size of the image to insert into the page – this should not be over 1000px wide or high, else the image may take too long to load.
- When the image settings have been chosen, click the Insert into page/post button in the bottom right of the screen. Your image(s) will appear wherever your cursor was in the text editor box.
Altering existing media’s settings
It’s easy to edit media that you have already inserted into a post or page.
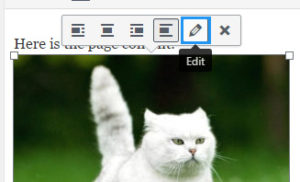
- Click on the image you wish to edit.
- To resize the image, drag one of the small white squares in the corner to increase or decrease the size.
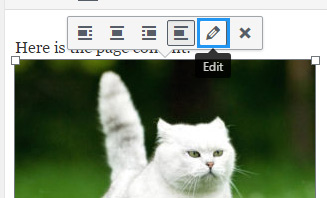
- To edit other settings, click on the Pencil icon.
- A screen with the image’s settings and also display settings will be displayed. Edit the required settings and click Update.
Deleting inserted images
Click on the image you wish to delete, and click the X button.
