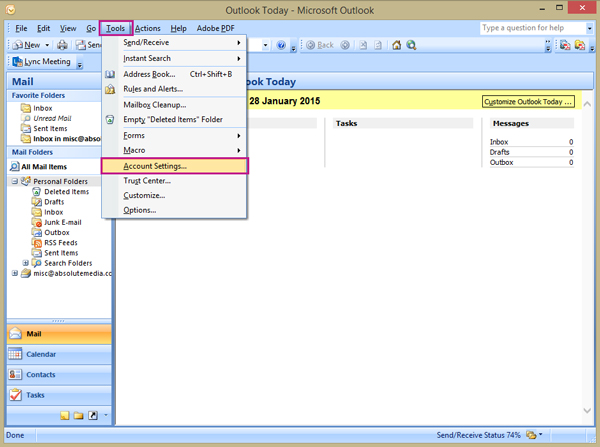
- From the Tools menu bar button, select Account Settings. This may be under the File tab.
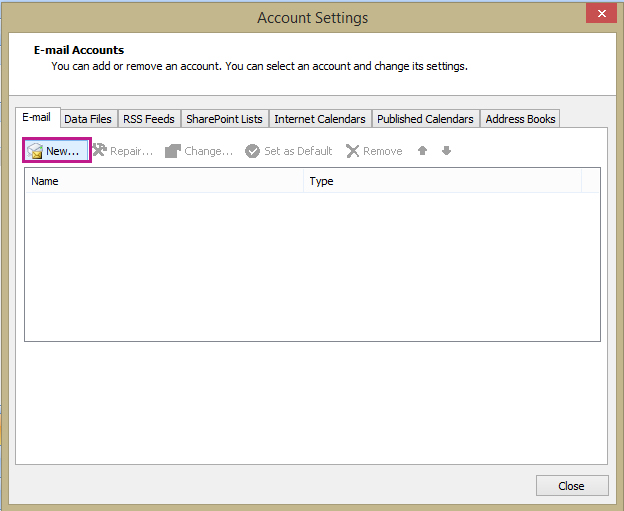
- Click New
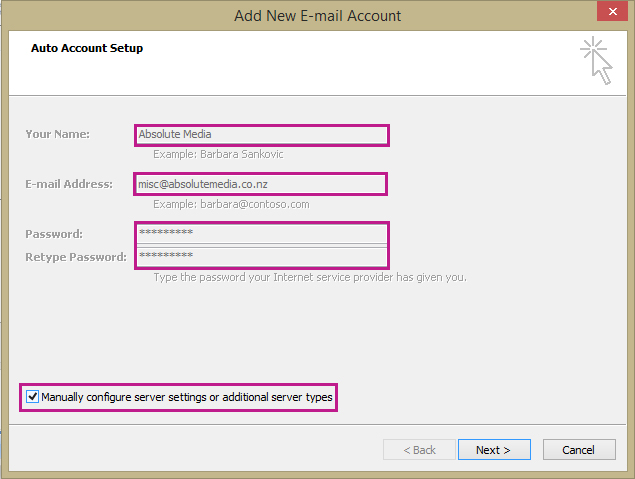
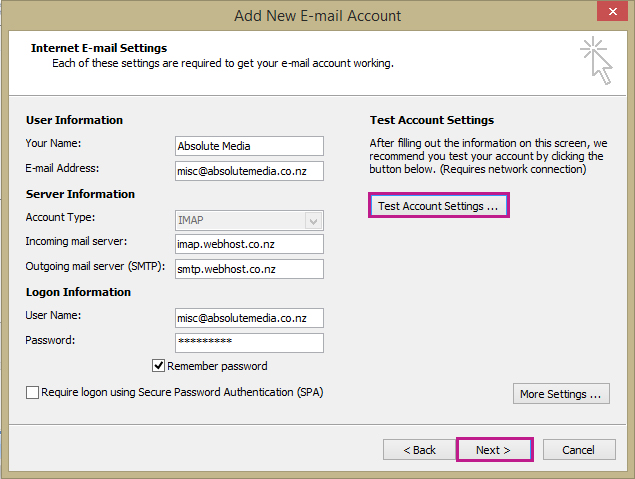
- Enter your name, email address, and password (the latter two which will be provided by us). Ensure the Manually configure server settings… checkbox is checked. Click Next.
- Select Internet E-Mail. Click Next.

- Set Account type to be IMAP from the drop down box.
- Set the Incoming mail server to imap.webhost.co.nz
- Set the Outgoing mail server (SMTP) to smtp.webhost.co.nz
- Enter the username (your full email address) and password of your account.
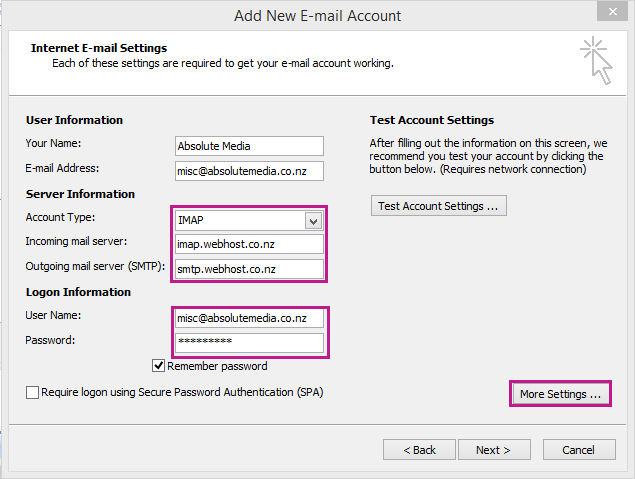
- Click More Settings ….
- Navigate to the Outgoing Server tab.
- Check the box next to My outgoing server requires authentication.
- Select the radio button next to Use same settings as my incoming mail server.

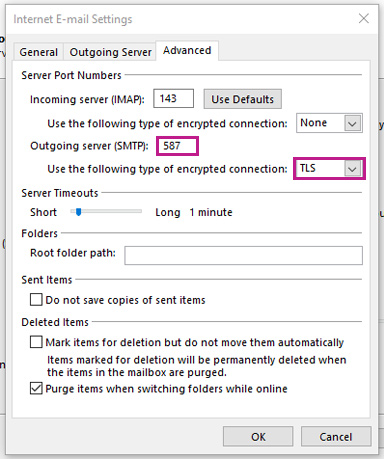
- Navigate to the Advanced tab.
- Under the Outgoing Server (SMTP) heading, change Use the following type of encrypted connection: to TLS
- Change Outgoing server (SMTP): to 587
- Click OK.
- Click Test Account Settings …, if the tasks are completed successfully, all details have been entered correctly, otherwise check the values you have entered are correct.
- Click Next, then Finish.
- From the Tools menu bar button, select Account Settings. This may be under the File tab.
- Double click on the newly created email account from the list.
- Click on the More settings … button.
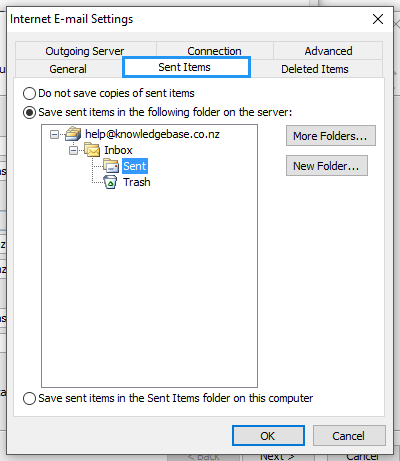
- Click on the Sent Items tab.
- Ensure the Save sent items in the following folder on the server: radio button is selected.
- Ensure the Sent folder is selected. This should be under Inbox as per the below screenshot, but may not be depending on computer configuration.
- Navigate to the Deleted Items tab.
- Ensure the Move deleted items in the following folder on the server: radio button is selected.
- Ensure the Trash folder is selected. This should be under Inbox, but may not be depending on computer configuration.
- Click OK, then Next, then Finish.
Outlook 2013 bug – Inbox is empty
In Outlook 2013, a bug can occur in which no emails or folders are displayed in the Inbox. The below instructions have been taken from this article.
- Under the Folder tab, right of the Favorites tab, click IMAP Folders.
- Outlook should open a dialog box with IMAP folders. There is a checkbox that says, When displaying hierarchy in outlook, show only the subscribed folders. The checkbox should be unchecked/unselected.
- Click OK.
- Navigate back to the Home tab, and then press the send/receive button, which should immediately start downloading the inbox files and folders.