For web pages that have complex, multi-column layouts, or if you attempt to edit your page and see a lot of ‘code’ you may need to edit these using the more advanced visual editor, view instructions on how to do this here.
To edit web pages with the classic editor, either click on the edit link while in the pages section of the dashboard, or while logged in, view the page in the front end, and click the Edit page button. The following screen will load in your browser.
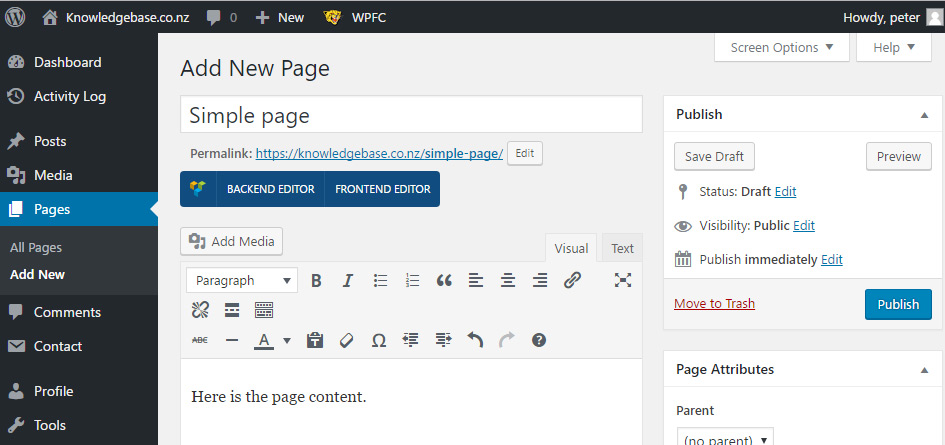
The Page title and Page content can be edited from this screen. To edit the Page title, place the cursor in the Page title section and edit the text.
To edit the Page content, place the mouse cursor in the Page content section and edit the text using the in-built text editor.
Using the text editor
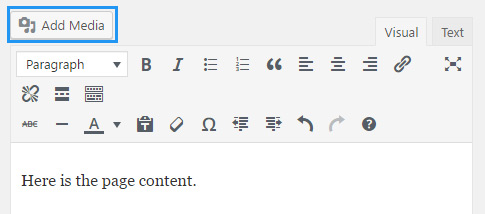
The text editor has many features similar to common word processing applications. Refer to the below diagram for more detail on these features.
- Formatting options – These are common features you find in a word processing application, here you will find buttons to allow you to bold text, add bullet lists, and align text.
- Add hyperlink – This button is used to add a hyperlink to another web page either on your web site or another web page on the internet. To add a hyperlink, highlight the text or image you wish to turn into a clickable link, click the closed chain button and enter the location (url) in the ‘URL’ text box, then click ‘Add link’. To remove a link, highlight a link and click the open chain button.
- Show/Hide Kitchen Sink – Shows/Hides the ‘Kitchen sink’, which has more helpful formatting features.
- Text Style – The first item in the ‘Kitchen Sink’, this drop down list allows you to select a text style for text. Highlight the text you wish to change, and select a heading or other style from the drop down list.
- Text colour –Allows you to change the colour of any highlighted text.
- Paste from Word – Pastes content you have copied from Word, removing any potential formatting issues that may have been copied from Word.
- Undo – Common undo feature.
- Help – Brings up a dialog box with some helpful tips.
Publishing changes
To publish (go live) with any changes you are making to a web page, you must click the Update or Publish button on the right Publish column. It is highly recommended to first click the Preview Changes button, this will open up a new page showing the changes you have made. These changes will be visible to only you. If you are happy with the changes, navigate back to the edit screen and click the Update or Publish button.
Inserting images
- In the area where web page content is added (below title box), place the cursor where you would like the image to be inserted.
- Click the Add Media button.

- Add images (further detail on managing and uploaded media can be found here) and click the Insert into page button.
- Edit the image settings and size as explained on the managing media support page.
Deleting images
Click on the image you wish to delete, and click the X button.
